
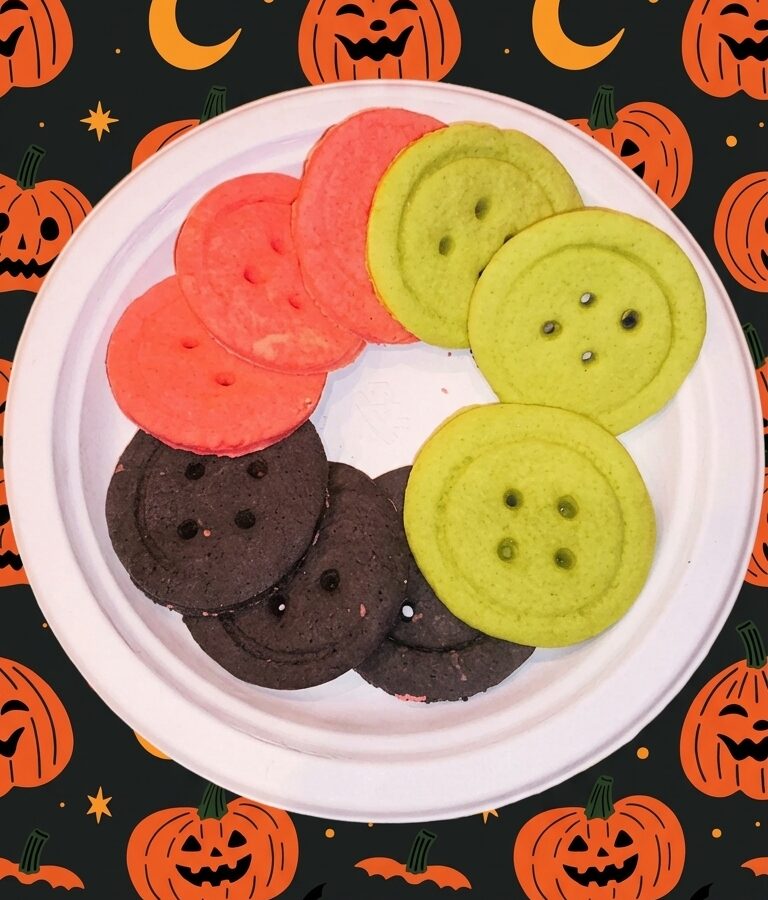
Inspired by the quirky charm of “Coraline,” these cookies turn a simple sugar cookie dough into playful button shapes. Cream cheese gives the dough a soft, tender bite, and a splash of food coloring makes them as fun to look at as they are to eat. They’re an easy project to tackle with kids on a rainy afternoon, or to bake up for a Halloween treat table with a little extra whimsy.
Quick facts
- Chill time: 2 hours
- Bake time: 8 to 10 minutes
- Oven temperature: 350°F
- Best for: Halloween gifting, rainy-day baking, kid-friendly projects
Why You’ll Love These Cookies
- A soft, tender texture. Cream cheese in the dough keeps these cookies from turning out dry or crumbly.
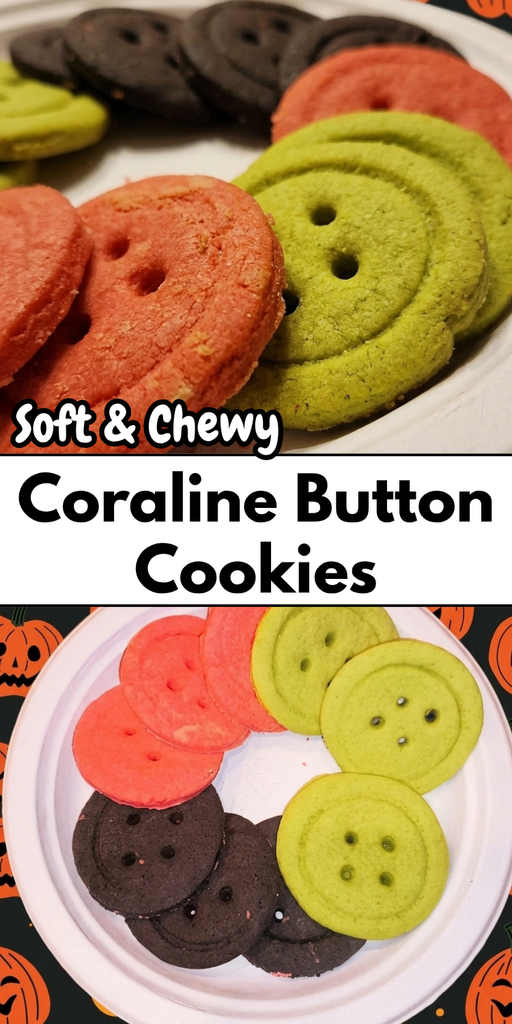
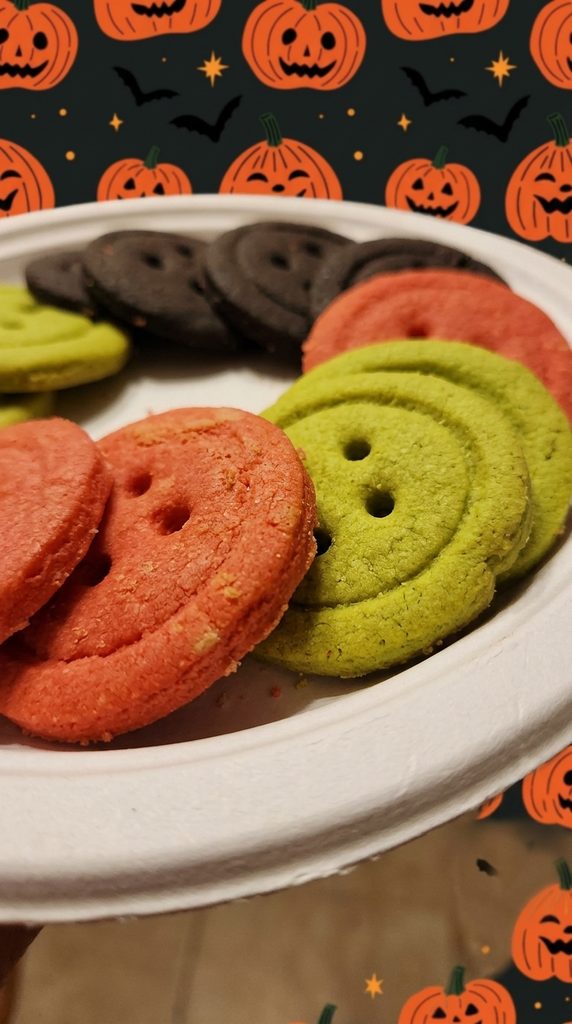
- A fun, distinctive shape. The button design with its grooved center and poked holes makes these stand out from a typical cutout cookie.
- Colorful and customizable. Tint the dough in as many shades as you like for a playful, varied batch.
- A great kids’ activity. Rolling, cutting, and poking holes are all easy, hands-on steps that young bakers can help with.
- No fussy decorating required. The shape itself does most of the visual work, so there’s no piping or icing needed unless you want it.
Ingredients
- 3/4 cup butter, softened
- 3 ounces cream cheese
- 1 cup granulated sugar
- 1 egg
- 1 teaspoon vanilla extract
- 2 3/4 cups all-purpose flour
- 1 teaspoon baking powder
- 1/4 teaspoon salt
- Food coloring (neon or pastel shades, optional)
How to Make Coraline Button Cookies
Part 1: Make the Dough
1. Cream the butter, cream cheese, and sugar. In a large bowl, beat these three together until the mixture looks light and fluffy.
2. Add the egg and vanilla. Beat them in until the mixture is smooth.
3. Mix the dry ingredients. In a separate bowl, whisk together the flour, baking powder, and salt.
4. Combine. Gradually add the dry ingredients into the creamed mixture, mixing until a soft dough comes together.
Part 2: Color and Chill
5. Divide and tint. Split the dough into portions and mix in food coloring for each one if you’d like a mix of colors. Wrap each portion in plastic wrap.
6. Chill. Refrigerate the dough for about 2 hours. This firms it up enough to roll and cut cleanly.
Part 3: Shape the Buttons
7. Preheat the oven. Heat it to 350°F.
8. Roll out the dough. On a lightly floured surface, roll the chilled dough to about ¼ inch thick.
9. Cut the shapes. Use a round cookie cutter, or a floured drinking glass, to cut out circles.
10. Add the button groove. Press a slightly smaller cutter gently into the center of each circle to create the inner button outline, without cutting all the way through.
11. Poke the holes. Use a metal straw to punch four small holes in the center of each cookie, like the holes on a real button.
Part 4: Bake
12. Arrange the cookies. Space them about 3 inches apart on a parchment-lined baking sheet.
13. Bake. Bake for 8 to 10 minutes, just until the edges start to turn golden.
14. Cool. Let the cookies rest on the pan for a few minutes, then transfer them to a rack to cool completely.
Tips for the Best Button Cookies
Don’t skip the chilling time. Cold dough is much easier to roll out evenly and holds the cutout shapes without distorting.
Roll to an even thickness. Keeping the dough at a consistent ¼ inch helps all the cookies bake at the same rate.
Press the inner groove gently. You want a visible outline, not a cut all the way through the dough.
Clear the straw as you go. Dough can build up inside the straw as you poke holes, so clean it out periodically to keep the holes neat.
Watch the edges, not the color of the whole cookie. These are done as soon as the edges just begin to turn golden. Pulling them at that point keeps the centers soft.
Mix colors for variety. Pastel shades give a soft, vintage look, while neon colors make for a bolder, more playful batch, especially fun for a Halloween-themed dessert table.
Serving and Storing
These cookies are striking enough to serve plain, with their colorful dough and detailed button shape doing all the visual work. Pack them into treat bags for a Halloween gathering, or stack them on a plate for an easy afternoon snack. Store cooled cookies in an airtight container at room temperature, where they’ll keep well for several days.
Final Thoughts
These button cookies are a fun way to bring a little movie-inspired whimsy into the kitchen. The soft, cream cheese-based dough bakes up tender, and the button detailing makes them feel special without requiring any real decorating skill. They’re an easy, enjoyable project for bakers of any age. Give them a try and let me know how yours turn out.