
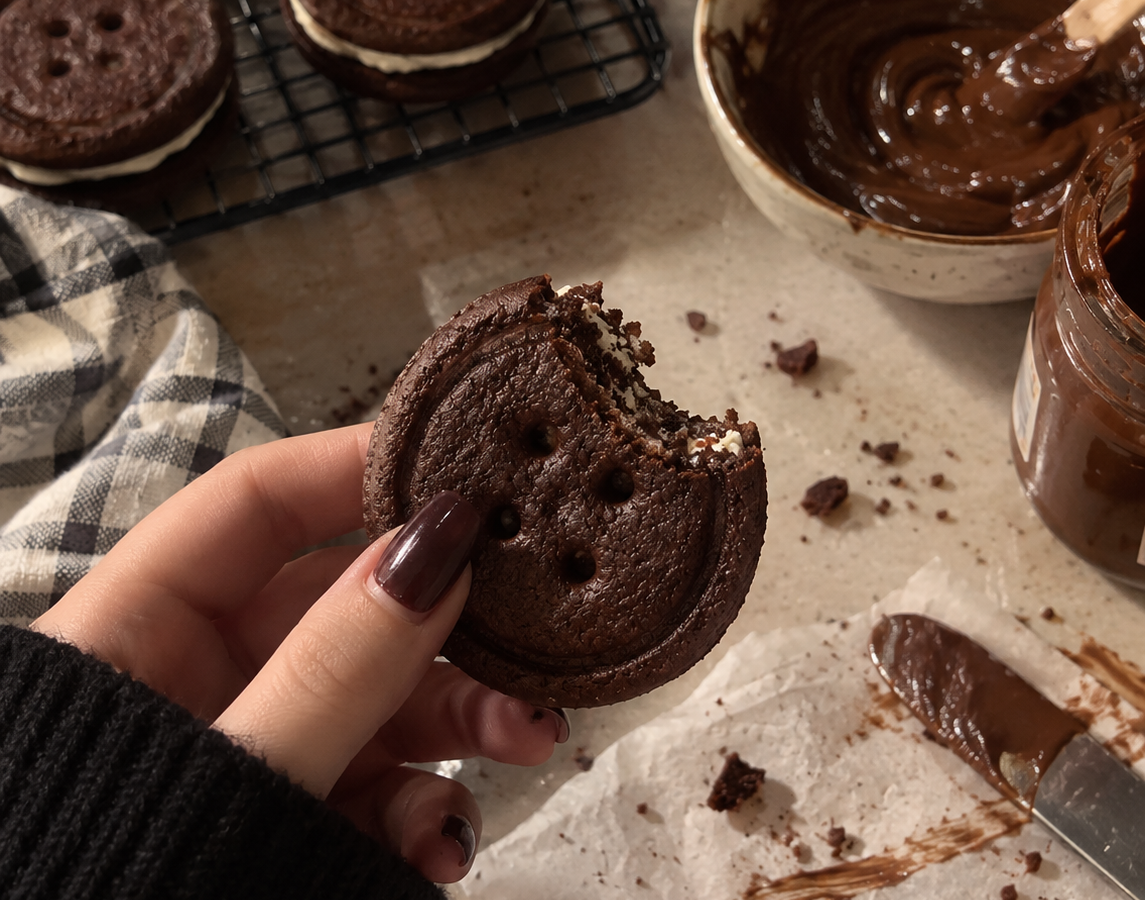
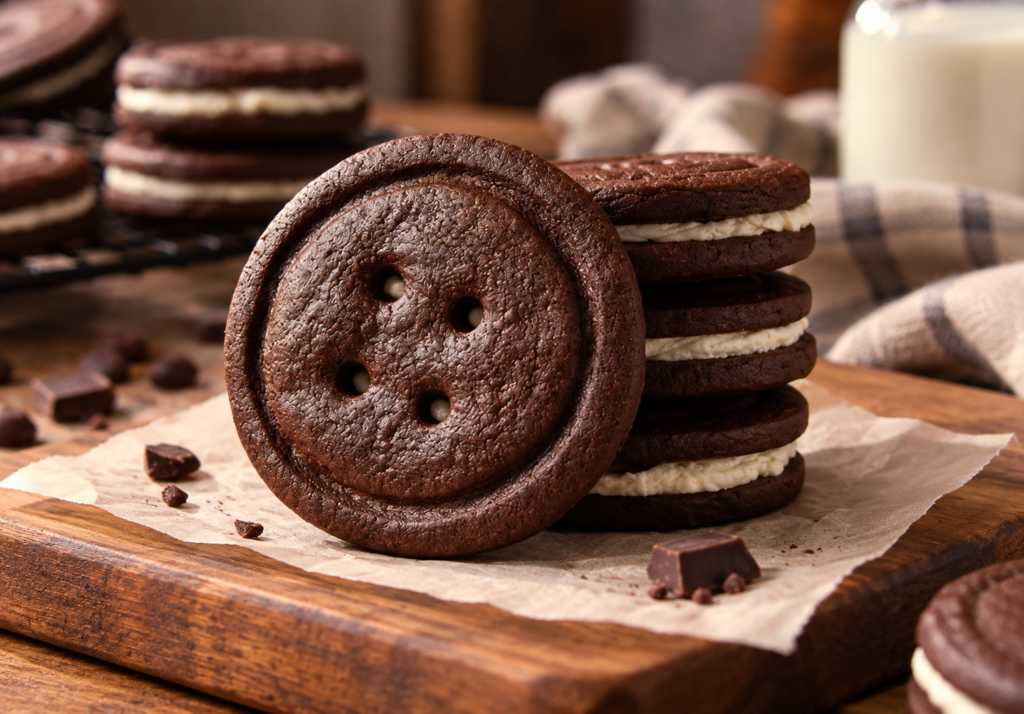
If you want a bakery-style treat with a fun, quirky shape, these are worth the effort. Rich, dark chocolate cookies are cut into large button shapes with four little holes, then sandwiched together around a smooth, sweet filling. They make a great centerpiece for a costume party, a movie-night snack, or any occasion that calls for something a little unusual.
Quick facts
- Prep time: 30 minutes
- Chill time: 2 hours (or overnight)
- Bake time: 20 minutes
- Makes: 18 sandwich cookies, about 2.5 inches each
- Calories: about 358 kcal per cookie
- Difficulty: Easy
Why You’ll Love These Cookies
- Deep, dark chocolate flavor. Both melted dark chocolate and cocoa powder go into the dough.
- A fun, novelty shape. The button design with four holes makes them stand out on a dessert table.
- A creamy, homemade filling. It’s smooth, sweet, and easy to pipe or spread.
- Great for parties. They’re a memorable treat for a themed birthday, Halloween gathering, or any costume-party dessert table.
- Simple tools. You only need a glass, a straw, and a round cutter to shape them.
Ingredients
For the cookies
- 228 grams unsalted butter
- 150 grams caster sugar
- 1 tsp vanilla extract
- 1 large egg
- 200 grams dark chocolate (>85% cocoa solids)
- 90 grams cocoa powder
- 250 grams plain flour
- 1 tsp salt
- 1/2 tsp bicarbonate of soda
For the filling
- 50 grams unsalted butter
- 65 grams vegetable shortening
- 230 grams icing sugar
- 1 tsp vanilla extract
- 1 tbsp milk
- pinch salt
Equipment
- Mixing bowl
- Baking tray
- A small glass (for pressing the button outline)
- A drinking straw (for the button holes)
How to Make Button Cookies
Part 1: Make the Dough
1. Melt the butter. Warm the butter gently over low heat in a small saucepan until melted.
2. Whisk with sugar. In a medium bowl, whisk the melted butter together with the caster sugar.
3. Melt the chocolate. Break the dark chocolate into small pieces and melt it gently in a heatproof bowl set over a pan of barely simmering water.
4. Combine. Whisk the vanilla and melted chocolate into the butter and sugar mixture.
5. Add the egg. Whisk in the egg until everything is well combined.
6. Add the dry ingredients. Sift the flour, cocoa powder, salt, and bicarbonate of soda together, then stir this into the chocolate mixture until fully combined.
7. Chill. Cover the dough and refrigerate for 2 hours, or overnight, so it firms up enough to roll.
Part 2: Shape the Cookies
8. Bring the dough to room temperature. Let it sit out until it’s soft enough to roll without cracking.
9. Preheat the oven. Set it to 160°C.
10. Roll it out. Divide the dough into quarters and roll each piece to about 1/4 inch thick.
11. Cut the circles. Use a 2.5-inch round cutter to cut out shapes, then place them on a baking tray lined with baking paper.
12. Press the button outline. Use a glass with a rim about 1/2 inch smaller than your cutter to press a shallow circle into the center of each cookie, mimicking the raised rim of a real button.
13. Cut the holes. Use a drinking straw to punch four small holes in the center of each cookie, arranged like button holes. As dough builds up inside the straw, snip off the clogged end so it stays clear.
14. Chill again briefly. Put the shaped cookies in the fridge for 10 minutes before baking. This short chill helps them hold their shape in the oven.
Part 3: Bake and Cool
15. Bake. Bake for 20 minutes.
16. Cool completely. Move the cookies to a wire rack and let them cool fully before filling. Warm cookies will melt the filling.
Part 4: Make the Filling and Assemble
17. Make the filling. Combine the butter, vegetable shortening, icing sugar, vanilla, and milk in a food processor. Process until the mixture is light, smooth, and creamy.
18. Fill and sandwich. Spread about 1 tablespoon of filling on the flat side of one cookie, then top with a second cookie. Press gently in the center so a little filling peeks through the holes, just like the design on a button.
19. Repeat. Assemble the rest of the cookies the same way. If you want a firmer, more Oreo-like filling, chill the finished cookies in the refrigerator.
Tips for the Best Button Cookies
Let the dough warm up before rolling. Cold dough straight from the fridge is more likely to crack when rolled out.
Use a glass and a straw for clean shapes. The glass rim gives a neat button outline, and the straw makes tidy, evenly spaced holes.
Clear the straw as you go. Snip off the clogged tip every so often so the holes stay clean and easy to punch.
Chill the shaped cookies before baking. Ten minutes in the fridge helps them keep their shape instead of spreading in the oven.
Cool completely before filling. This keeps the filling from melting into the cookie.
Chill the assembled cookies for a firmer bite. If you like your sandwich cookies dense and firm like a store-bought version, refrigerate them after filling.
Serving Suggestion
These rich, dark chocolate cookies pair perfectly with a large glass of cold milk. They’re best enjoyed once the filling has had time to set, especially if you’ve chilled them.
Storing
Keep the assembled cookies in an airtight container. Refrigerate them if you prefer a firmer filling, or store at room temperature for a softer bite.
Nutrition (per cookie, approximate)
Calories: 358 kcal | Carbohydrates: 40g | Protein: 4g | Fat: 22g | Saturated fat: 12g | Sugar: 24g | Fiber: 3g | Sodium: 169mg
These values are estimates, so check a nutrition calculator if precise numbers matter for you.
Final Thoughts
These button-shaped cookies are a fun twist on a classic chocolate sandwich cookie. The dark chocolate dough is rich, the filling is smooth and sweet, and the shape makes them a real conversation starter at any themed party. Whether you’re planning a costume celebration or just want to try something different, these are worth the chill time. Let me know how yours turn out.