
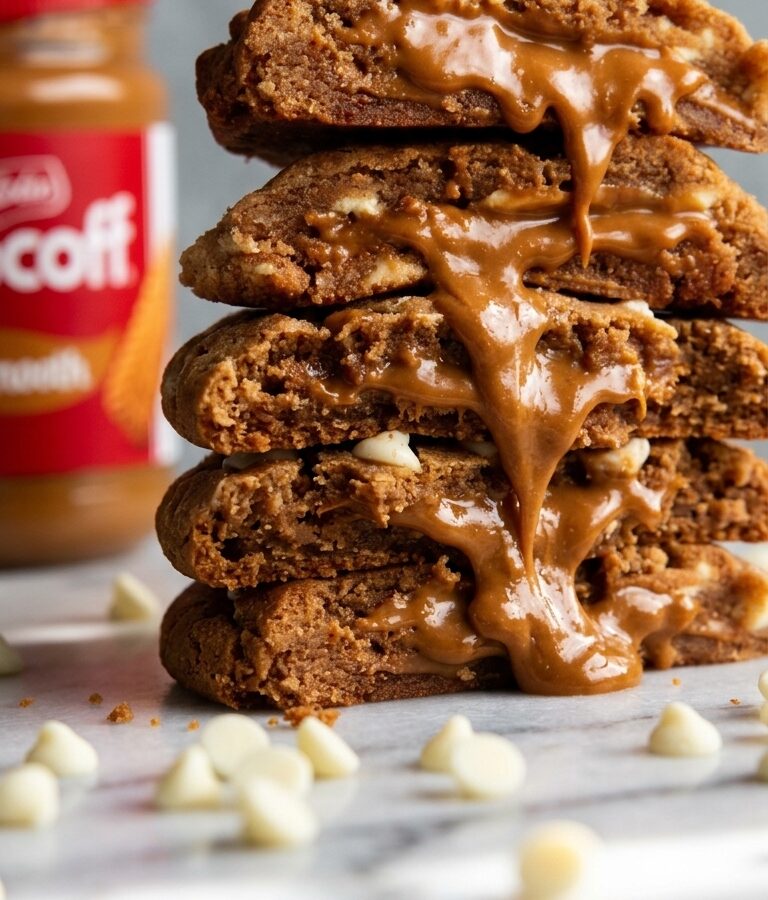
These are big, bakery-style cookies built around a simple but brilliant idea: wrap a spiced, brown butter cookie dough around a frozen disc of Biscoff spread. The result bakes up with crisp, golden edges and a soft, chewy interior, with a warm, gooey Biscoff center hiding inside. They take some patience with chilling, but the payoff is a seriously impressive cookie.
Quick facts
- Prep time: 20 minutes
- Cook time: 20 minutes
- Butter cooling + minimum dough chilling: 2 hours 45 minutes
- Total time: 3 hours 25 minutes
- Makes: 8 big cookies (about 4.5 inches wide, 1 inch thick, 150g/5oz each)
Ingredients
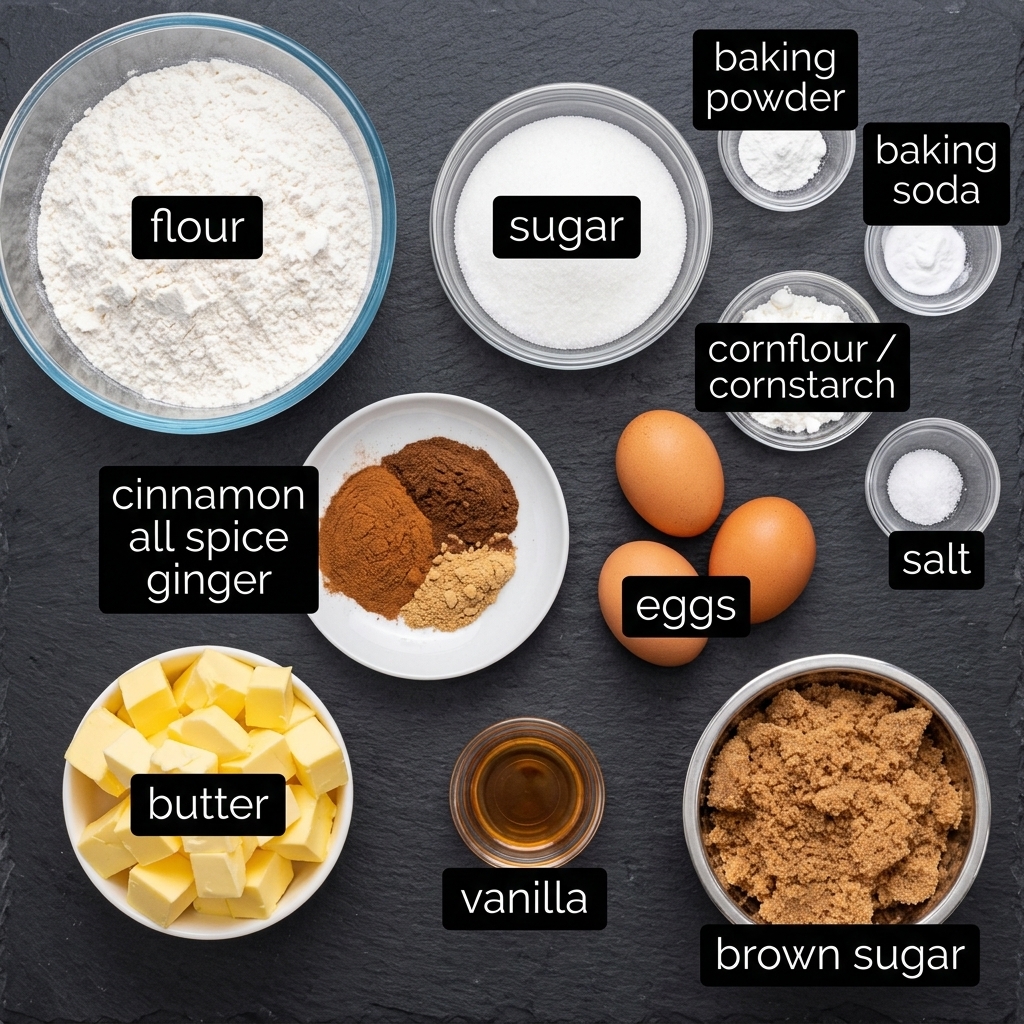
For the Biscoff stuffing
- 280g / 9.5 oz Biscoff spread, smooth (8 x 1 tablespoon generously heaped, about 35g/1¼ oz each)
For the dough
- 225g / 2 US sticks unsalted butter, cut into 1cm / ½” cubes
Dry ingredients
- 2 ¼ cups plain flour / all-purpose flour, spooned and levelled
- 3 tsp cornflour/cornstarch, tightly packed and levelled
- ¼ tsp baking powder
- ½ tsp baking soda / bi-carb, sifted if lumpy
- ½ tsp cooking salt / kosher salt (halve for table salt, increase by 50% for flaky salt)
Spices
- 1 tsp cinnamon powder
- ½ tsp all spice powder (or mixed spice)
- ¼ tsp ginger powder
Wet ingredients
- ¾ cup (tightly packed) brown sugar (light brown sugar)
- ⅓ cup caster sugar / superfine sugar (or regular granulated)
- 1 large egg (55g / 2 oz in shell), at room temp
- 1 yolk from a large egg, at room temp
- 1 tsp vanilla extract
Chocolate
- 1¼ cups white chocolate chips, plus extra for decorating
How to Make Biscoff Stuffed Cookies
Part 1: Prep the Frozen Biscoff Centers
1. Portion the Biscoff. Dollop the Biscoff spread onto a paper-lined plate or small tray and spread it into 8 rough discs, each about ½ inch thick.
2. Freeze. Freeze the discs for about an hour, until firm enough to pick up and handle.
Part 2: Brown the Butter
3. Melt and simmer. Place the butter in a light-colored saucepan over medium-high heat. Once melted, let it simmer for 4 to 5 minutes, stirring occasionally, until it turns foamy, develops little golden specks underneath the foam, and smells nutty and rich.
4. Cool. Immediately pour the browned butter, including all the golden bits, into a heatproof bowl, scraping the pan clean. Let it cool to room temperature, about 45 minutes. It needs to be cool enough that it won’t melt the chocolate chips later, but not so cold that it starts to solidify at the edges.
Part 3: Make the Dough
5. Mix the dry ingredients. In a separate bowl, whisk together the flour, cornstarch, baking powder, baking soda, salt, and all three spices.
6. Combine the wet ingredients. To the cooled browned butter, add both sugars and mix with a wooden spoon. Add the egg, egg yolk, and vanilla, and mix until smooth. The mixture should look like caramel.
7. Bring the dough together. Add the dry ingredients and mix until the flour is mostly incorporated. Add the white chocolate chips and continue mixing until the flour is fully worked in.
Part 4: Stuff the Cookies
8. Portion the dough. Divide the dough into 8 portions of about 125g (4.4 oz, or a heaped ⅓ cup) each. Press each portion into a rough ball.
9. Stuff with Biscoff. Flatten each ball, place a frozen Biscoff disc in the center, then fold the dough up and around it, sealing any cracks so the filling doesn’t leak out during baking. Shape into a ball with a flat base, more like a tall dome than a perfect sphere.
Alternatively, you can split each portion into two flattened pieces, sandwich the Biscoff disc between them, then fold up and seal the edges, whichever method feels easiest.
Part 5: Chill
10. Refrigerate. Place the stuffed dough balls in an airtight container and chill for 12 hours, up to 48 hours, for the best flavor and texture. If you’re short on time, the bare minimum is 2 hours, just until the dough is firm.
Part 6: Bake
11. Preheat the oven. Heat it to 180°C/350°F (170°C fan-forced).
12. Arrange the cookies. Place the fridge-cold dough balls about 7.5cm/3 inches apart on a baking paper-lined tray, fitting about 4 cookies per tray.
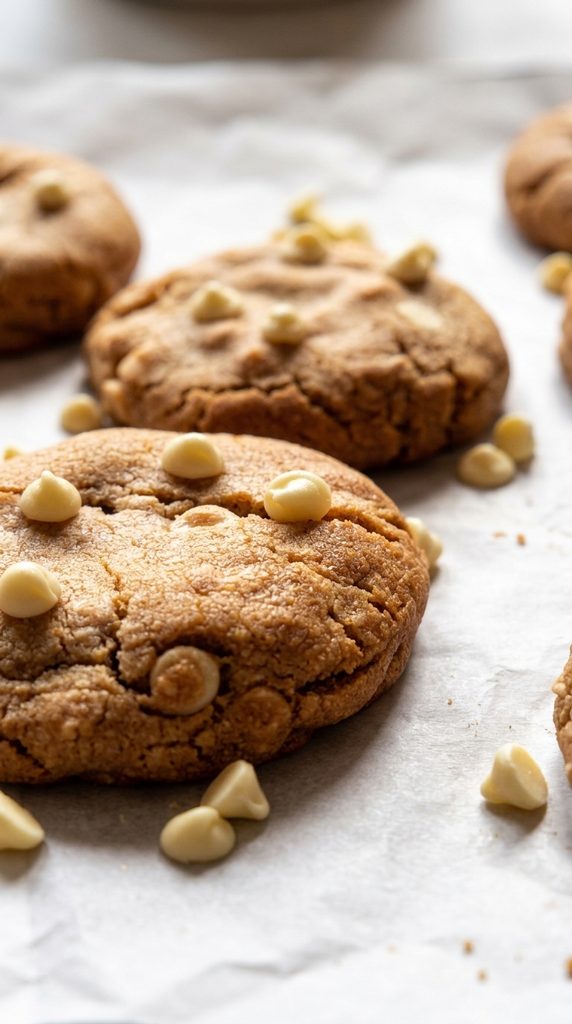
13. Bake. Bake for 18 to 19 minutes, until the edges are golden and the surface looks cooked through rather than melty or raw, while still staying fairly pale overall.
14. Decorate. Working quickly while the cookies are hot, press a few extra chocolate chips onto the surface of each one.
15. Cool. Let the cookies cool on the tray for 20 minutes. This finishes the baking process, crisps up the edges further, and deepens the golden color. While they’re still hot, you can nudge them into a tidier round shape with a rubber spatula if you like.
16. Enjoy. These are best eaten warm, right around this point, or you can transfer them to a rack to cool fully before storing.
Tips for the Best Results
Don’t skip browning the butter. This step builds a nutty, deep flavor that plain melted butter won’t give you, and it’s worth the extra few minutes.
Measure the flour and cornstarch carefully. Spoon the flour into your measuring cup and level it off rather than scooping from the bag or container, since scooping packs in extra flour and can make the cookies puff up more than intended. For the cornstarch, pack the spoon tightly and level it off.
Make sure the browned butter is properly cooled. Too warm, and it will melt the chocolate chips when mixed in. Too cold, and the edges can solidify, in which case you can gently re-melt and cool it again.
Seal the dough well around the filling. Any cracks or gaps in the dough can let the Biscoff leak out during baking, so take care to fully enclose the filling.
Give the dough real chilling time. A longer chill in the fridge, ideally the full 12 to 24 hours, noticeably improves the flavor, color, and texture compared to the minimum 2-hour rest, though both options work.
Bake straight from the fridge. Don’t let the dough come to room temperature before baking, since the cold dough helps it hold its shape and seals the filling inside properly.
Storing and Freezing
These cookies have excellent shelf life when chilled the full 12 hours before baking. The edges stay crisp and the inside stays moist and fudgy rather than turning dry or crumbly. They’re excellent for the first 3 days, still very good on day 4, and remain great through days 5 and 6. Store them in an airtight container at room temperature.
To freeze, you can freeze the uncooked, stuffed dough balls after their 12-hour fridge rest. Bake them straight from frozen, adding 3 to 4 extra minutes to the bake time.
Final Thoughts
These Biscoff stuffed cookies are a project worth the wait. Between the browned butter, the warm spice blend, and the molten Biscoff center, every element adds something to the final bite. Give yourself the full chilling time if you can, and you’ll end up with a cookie that’s genuinely special. Let me know how yours turn out.